You've unboxed your new baby monitor — now what? Setting up a baby monitor isn't complicated, but a few small mistakes can mean the difference between a crystal-clear feed and "why can't I see anything?" at 3am. Red Nose Australia recommends keeping all cords at least 1 metre away from the cot to prevent strangulation risks — this is the single most important safety rule for any baby monitor setup. This guide walks you through both non-WiFi and WiFi setups, camera placement, and the safety rules every Australian parent should know.
Not sure which type of monitor you have? Non-WiFi monitors use a dedicated parent unit screen — no phone, no app. WiFi monitors connect to your home internet and work through an app on your phone. If you're still deciding which one to buy, check our WiFi vs Non-WiFi comparison guide or start with our complete buying guide. Already using a monitor? Our guide on when to stop using a baby monitor covers the signs. On the fence about buying one? Read are baby monitors worth it first.
Regardless of which monitor you bought, here's what to have ready before you begin:
⚠️ SAFETY FIRST: Never place the monitor camera inside or attached to the cot. Cords and cables within reach of your baby are a strangulation hazard. Keep all cords at least 1 metre away from the cot. This is a Red Nose Australia safety recommendation.
Non-WiFi monitors are the easiest to set up — no apps, no passwords, no WiFi. Here's the simple process:
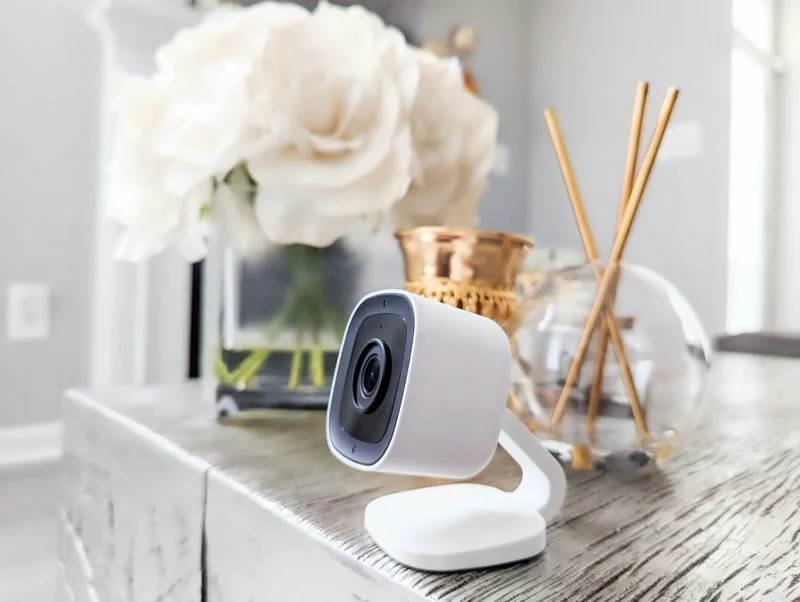
Place the camera on a stable shelf, dresser, or wall-mount it with a clear view of the entire cot. Make sure the power cord reaches the outlet without stretching across walkways. Aim for about 1-1.5 metres away from the cot and 1.5-2 metres high for the best angle.
Plug in the camera and the parent unit. Turn both on. Most non-WiFi monitors pair automatically — you should see the camera feed appear on the parent unit within 30 seconds. If it doesn't connect, check that both units are on the same channel (there's usually a small switch or menu setting).
Walk around your home with the parent unit. Go to the furthest room you'd realistically be in — the lounge room, kitchen, backyard. Check if the signal holds. Non-WiFi monitors typically have 200-400 metres of range. If the signal drops in key areas, try repositioning the camera slightly or moving the parent unit's charging base to a more central location.
Use the pan/tilt controls (if your monitor has them) to frame the cot properly. You want to see the entire sleeping surface — not just one corner. If your monitor doesn't have pan/tilt, you may need to physically adjust the camera angle. Lie your phone on the mattress to simulate your baby's position while you adjust.
Pro tip: Test the night vision during the day by closing the curtains and checking the feed. Some monitors have a visible red glow from infrared LEDs — if your baby seems distracted by it at night, reposition the camera slightly higher so the LEDs aren't directly in their line of sight.
WiFi monitors take a few extra minutes but give you app access from anywhere. Here's the process:
Find the app name in your monitor's manual — usually something like "Nooie", "Cubo AI", or "Eufy Baby". Download it from the App Store or Google Play. Create an account with your email and a strong password. Skip this step if you already have an account from another device.
This is where most people get stuck. Your baby monitor almost certainly only supports 2.4GHz WiFi. If your phone is on 5GHz, the app may not detect the camera. The fix: during setup, stand close to your router (better 2.4GHz signal) or temporarily disable 5GHz in your router settings. Enter your WiFi password carefully — typos are the #1 cause of setup failures.
If you're still having trouble, our WiFi vs Non-WiFi guide covers connection troubleshooting in detail.
Same as non-WiFi: clear view of the cot, 1-1.5 metres away, cords secured. Open the app and check the live feed. WiFi monitors sometimes have a 2-3 second delay — that's normal. If the feed is choppy, your WiFi signal might be weak in the nursery. Consider a WiFi extender if the nursery is far from your router.
Don't skip this. Change the default camera password immediately — most monitors come with a generic password like "admin" or "123456". Enable two-factor authentication if the app offers it. Turn on encryption in the settings menu. A few extra minutes now prevents headaches later.
Camera placement can make or break your monitoring experience. Here's what works:
⚠️ DO NOT: Place the camera on the cot rail, attach it to the cot with clips, or let any cord hang within 1 metre of the cot. Your baby can reach further than you think, especially as they grow. This follows Red Nose Australia's safe sleep guidelines for cord safety around cots.
See my honest comparison of 6 top baby monitors — every budget, every feature, no sponsored fluff.
Read the Full Review →For a non-WiFi monitor: plug in both camera and parent unit, turn them on, and they should pair automatically. For a WiFi monitor: download the app, create an account, connect the camera to your 2.4GHz WiFi network, and follow the in-app setup wizard. Always test the feed and night vision before relying on it overnight.
Place the camera at least 1 metre away from the cot with a clear view of the entire sleeping area. Wall-mount above the cot (1.5-2 metres high) for the best overhead angle, or place on a stable shelf or dresser. Red Nose Australia warns never to put the camera inside or attached to the cot — cords are a strangulation hazard.
The most common reason: your monitor only supports 2.4GHz WiFi, but your phone is on a 5GHz network. Move closer to your router during setup or temporarily disable 5GHz in your router settings. Also double-check your WiFi password — a single wrong character will prevent connection.
Mount the camera 1.5 to 2 metres above floor level for the best overhead view of the cot. Wall-mounting is ideal. If using a shelf, make sure it's completely stable and the camera can't be pulled down.
Yes — non-WiFi baby monitors don't need internet at all. They use a dedicated radio signal between the camera and parent unit. Just plug both in, turn them on, and they'll connect automatically. No app, no password, no WiFi required. These are the simplest monitors to set up.
← Back to Best Baby Monitor Reviews